- 03 9354 4717
- This email address is being protected from spambots. You need JavaScript enabled to view it.
- Mon - Fri 9:00:- 5:00 Sat 10:00 - 2:00
Polyurethane Timber Flooring Finishes
Polyurethane is solvent based product. It is highly durable, water and chemical resistant when applied correctly. When cared for, polyurethane will last for many years (Please refer to Maintaining timber floors). The perfect choice for projects that require a clean, modern and prestigious look.
To achieve a high level finish the correct sanding procedure must be followed.
Course Sanding
Preliminary sanding is required to flatten the hardwood floor; however this should be not done aggressively. Using low grit sandpaper will score the timber floor to deep this will make it impossible to remove the depth of the cut with the finer sandpapers. So please carefully asses the floor and select the correct grit for your first sand.
Second sanding should be of a finer grit one that is able to remove the scores from the previous cut. Simply if you use 60 grit on the first sand the maximum you can go to is 80 grit on the second sanding process going directly from 60 grit to 100 grit will not remove the scores from the previous cut.
Most hardwood floors should be finished off with a 100 grit sandpaper using either a belt or drum sander. So depending on your first cut back follow the procedure till you get to the final 100 grit cut before moving into fine sanding stage.
Fine Sanding
Rotary or flat bed sanders are used for all fine sanding. All flooring needs to be sanded to a degree where the grain is sealed (burnished) depending on the specie more or less work is required. Sealing the grain with fine sanding will ensure the following:
1: Less scratch marks
2: Flatter floor
3: Uniform coating (no hungry patches of wood)
4: Quality finish.
Masterfloors recommends a 3 coat system for most situations; 1st coat must be a sealer to isolate oils and other impurities, followed by 2nd applied at the rate of 8m² per Litre and the 3rd coats of polyurethane applied at the rate of 6m² per Litre.
A minimum of 12 hour must laps between the 2nd and 3rd coat to ensure that the coating has hardened enough to minimise swirl marks from the cut back sand.
Equally important is to apply the subsequent coats within 36 hours to ensure that no harsh cut backs are required. Hard sand backs will show numerous swirl marks which will be evident on the finished floor.
Masterfloors does not support any 2 coat systems over the many years in the flooring industry it has proven that they do not perform on hardwood floors in the long term.
Like all painted finishes polyurethane has several choices of gloss levels, but the gloss levels can vary from specie to specie due to woods hardness and oil content percentage.
Site conditions including weather can alter drying times affecting the desired look.
Please not that the higher the gloss level the higher imperfections in both coating and sanding will be shown.
Explanation of gloss levels:
Masterfloors polyurethane finishes are measured by different percentages of solids; we use these percentages to determine whether the finish is flat, matt, satin, gloss or high gloss.
When choosing the correct finish for your polyurethane flooring, the following information may come in handy and assist in creating your desired look.
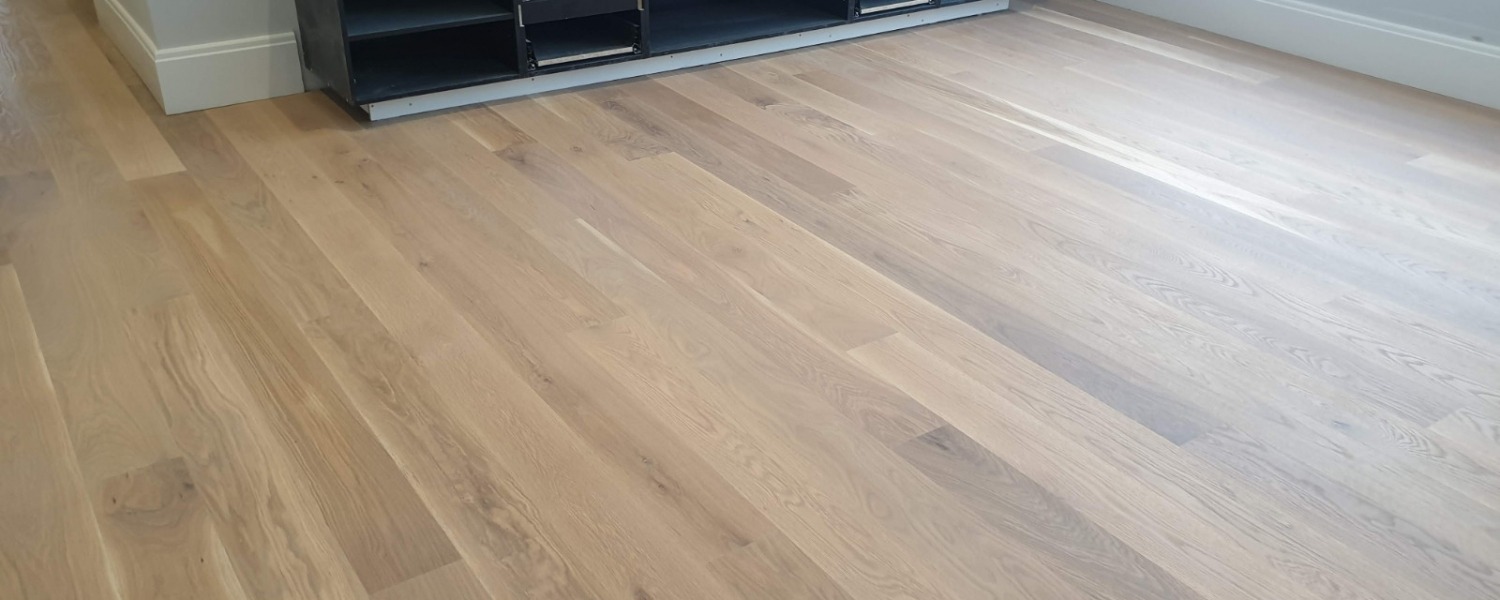
Flat – Non Reflective Surface - Raw look finish texture exposing natural timber grain.
Matt – Non Reflective Surface - Soft silky texture with minimal or no reflection.
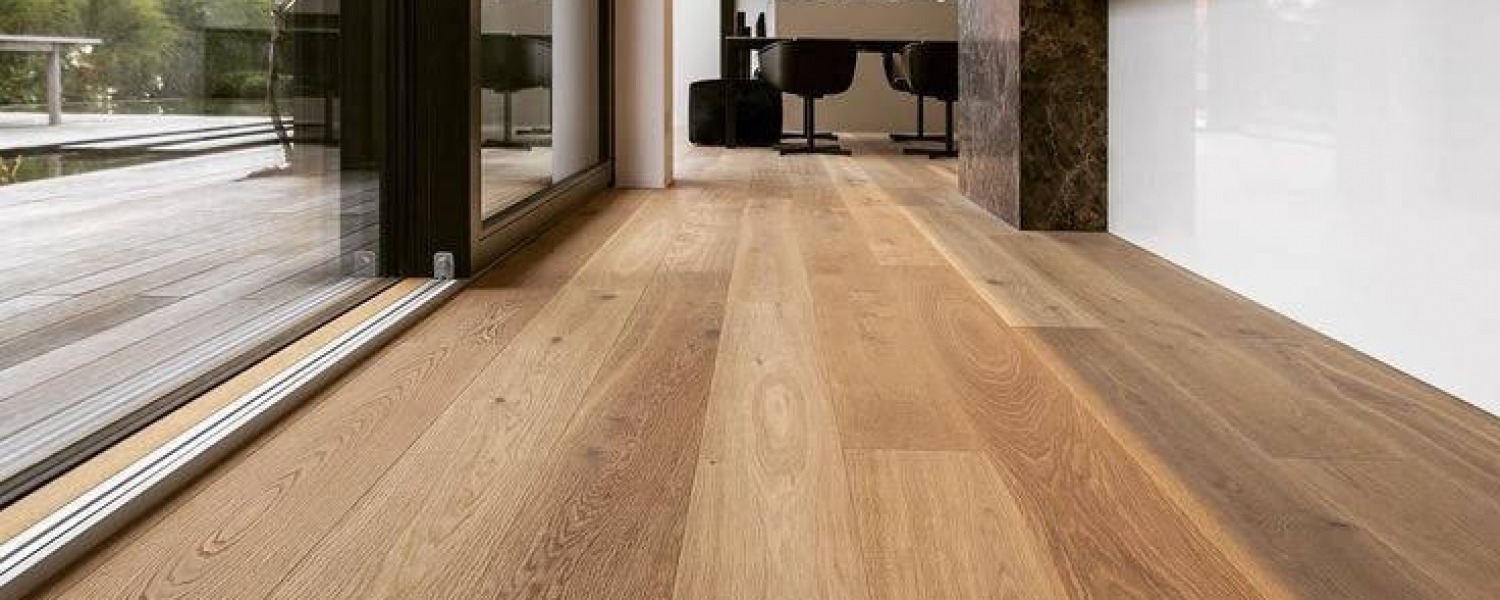
Satin – Minimal Reflective Surface - Smooth uniform silky texture with minimal reflection.
Gloss – Reflective Surface- Reflective in appearance smooth texture.
High Gloss – Highly Reflective Surface - Highly reflective mirror like appearance smooth texture.
There are many different makes of polyurethane on the Australian market ranging drastically in price from manufacturer to manufacture. The reason for this is the amount of solid particles contained in the coating. Generally the cheaper the price the less percentage of solids the polyurethane contains. Solids are required for the longevity of polyurethane coating.
View More Pages
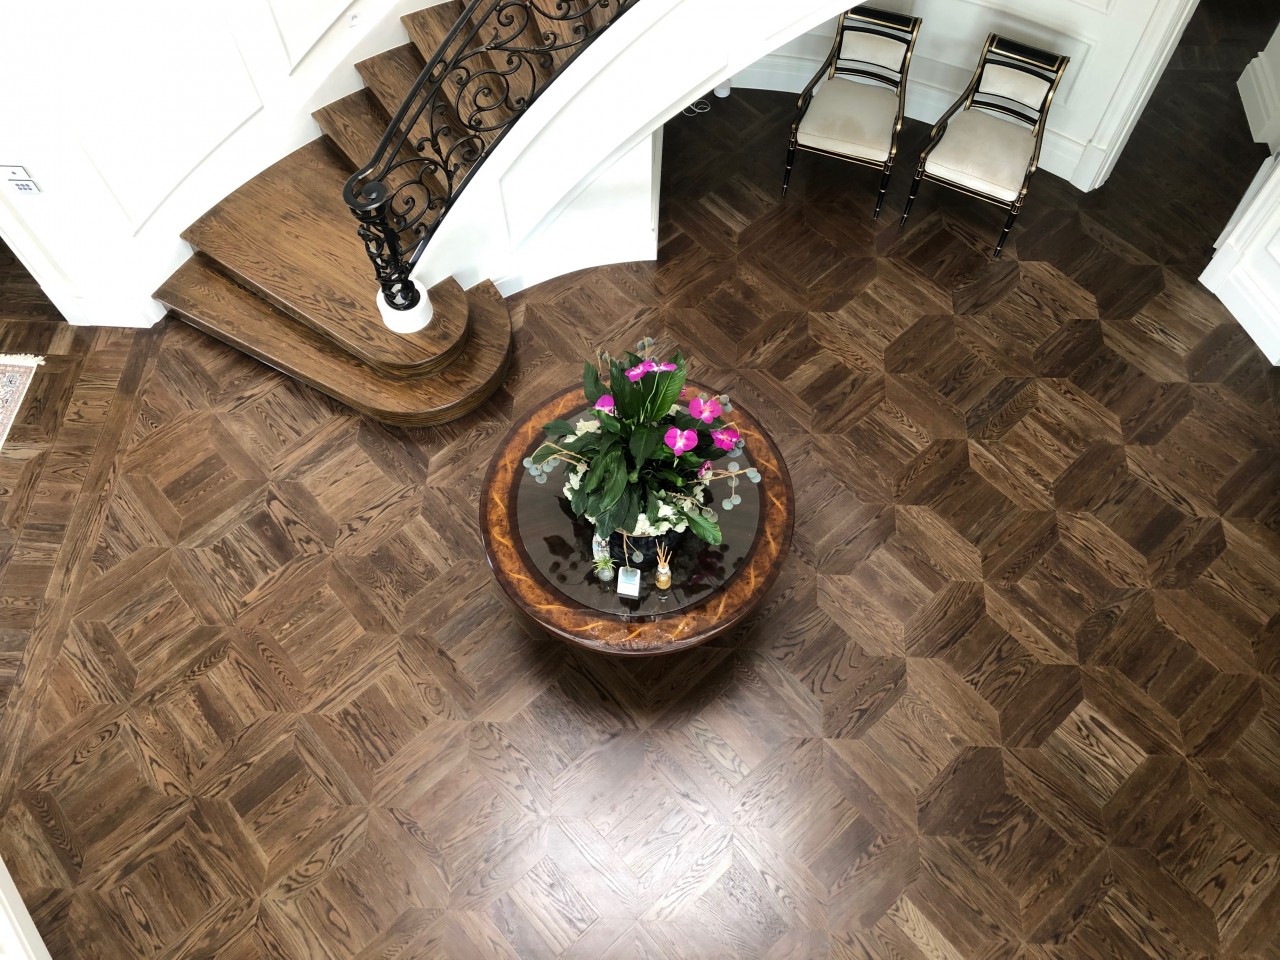
Monticello Parquetry by Masterfloors
by MasterFloors
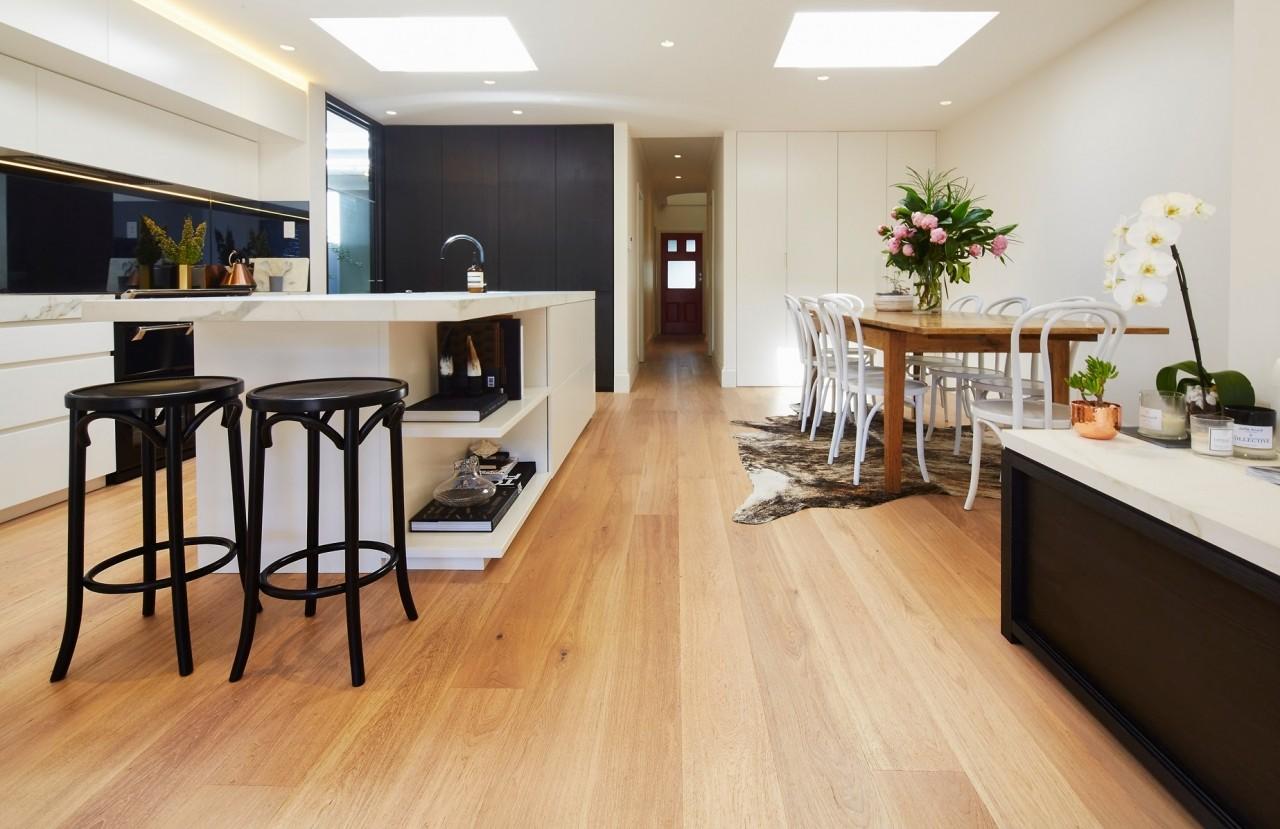
Timber Flooring Gallery - By Masterfloors
by MasterFloors
French Oak
by MasterFloors
